Documenting C code with Doxygen
Documentation is, without a doubt, a fundamental part of the process of code development. It allows users and developers have a greater understanding of how the code works and its use, allowing medium and long-term maintenance to be carried out faster and that these people can also participate in the project development.
For C/C++ projects, Doxygen is the most widely used tool. An example of a project that uses the Doxygen for documentation is KDE.
Doxygen generates documentation from the code, annotated by blocks of comment with special markup, and can generate output in HTML and LaTeX.
Here we will create a simple project in C to exemplify the production of
documentation with Doxygen. The project will be called hello, and
contains only one function, which will display "Hello World" on the
screen.
Creating the code for the project
Our project will be very simple, with a flat folder structure (which I
named hello):
The contents of the header hello.h is
#ifndef __HELLO_H__
#define __HELLO_H__

#ifndef MY_CONST
#    define MY_CONST 42
#endif

void
hello (void);

#endif /* __HELLO_H__ */
and the code for the defined function in hello.c
To call the function hello Let’s create a file main.c,
containing the main function:
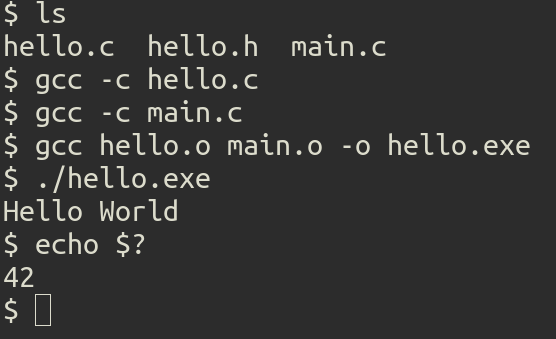
We can easily test this code:
Invoking ./hello.exe prints the message Hello World on screen:

Installing Doxygen
You can check if Doxygen is installed using the command:
If you haven’t installed it, you can look at the official page of project or on your website distribution: Gentoo users (like me) can install with Portage,
Creating the documentation
As I said previously, Doxygen uses special annotations in the code to
generate documentation. For our project, we can rewrite the header file
hello.h this way:
/// @file hello.h
#ifndef __HELLO_H__
#define __HELLO_H__

/**
 * The answer to the ultimate question about life, the Universe, and
 * everything.
 */
#ifndef MY_CONST
#    define MY_CONST 42
#endif

/**
 * Say hello!
 */
void
hello (void);

#endif /* __HELLO_H__ */
Notice the presence of blocks
/**
 * ... text ...
 */
in the header.
Creating Doxyfile
Doxyfile is the configuration file that controls the Doxygen. To
create a configuration template, run in the directory main project the
command:
where the -g stands for generate. This will create the
Doxyfile file in the project directory.
Invoking Doxygen
To create the documentation invoke the command
This will create two new folders:
html/,latex/.
By default, Doxygen create the documentation in LaTeX format, besides the HTML version.
If you open the html/index.html file in your browser, you will see
something similar to this:

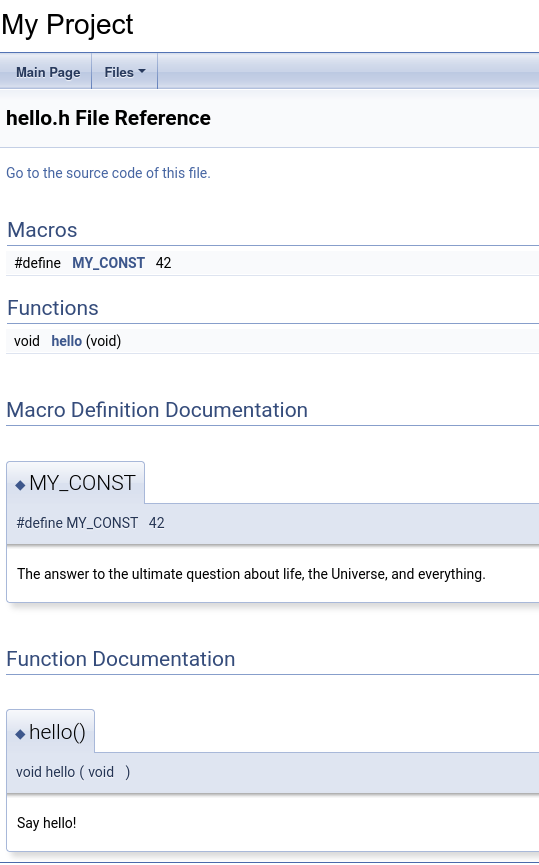
And by navigating to the menu Files > File List > hello.h, you will
see the documentation of the hello.h file:

Improving the appearance of the documentation
Although the result is functional, the generated page has a pretty barebones look. To make the appearance a little more attractive, Doxygen offers some options for customization, and among them the option to include CSS styles.
To solve this we have the nice Doxygen Awesome project, which provides an additional style layer for our documentation.
To use it there are some installation options on page official, and I will install it as a git submodule:
git submodule add https://github.com/jothepro/doxygen-awesome-css.git
cd doxygen-awesome-css
git checkout v2.2.1
The project offers two layouts, and I will choose the sidebar layout. To
do this, it is also necessary to modify the following options in the
Doxyfile:
GENERATE_TREEVIEW      = YES # required!
DISABLE_INDEX          = NO
FULL_SIDEBAR           = NO
HTML_EXTRA_STYLESHEET  = doxygen-awesome-css/doxygen-awesome.css \
                         doxygen-awesome-css/doxygen-awesome-sidebar-only.css
HTML_COLORSTYLE        = LIGHT # required with Doxygen >= 1.9.5
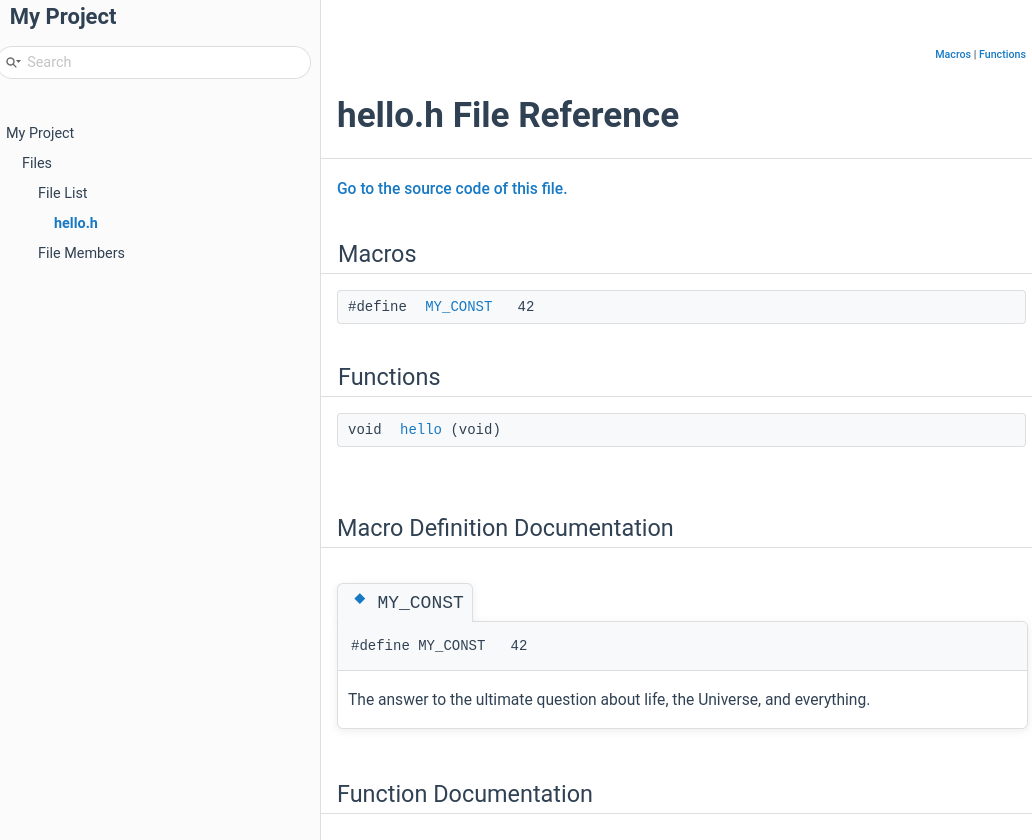
And by invoking doxygen again, the generated documentation will look
like this:

Example Code
The repository containing the code used as example is available in: